Forum Discussion
- alexspoom13Seasoned Rookie:shock: Your landscaping is AMAZING. I'm jealous. How do you do it? :mrgreen:
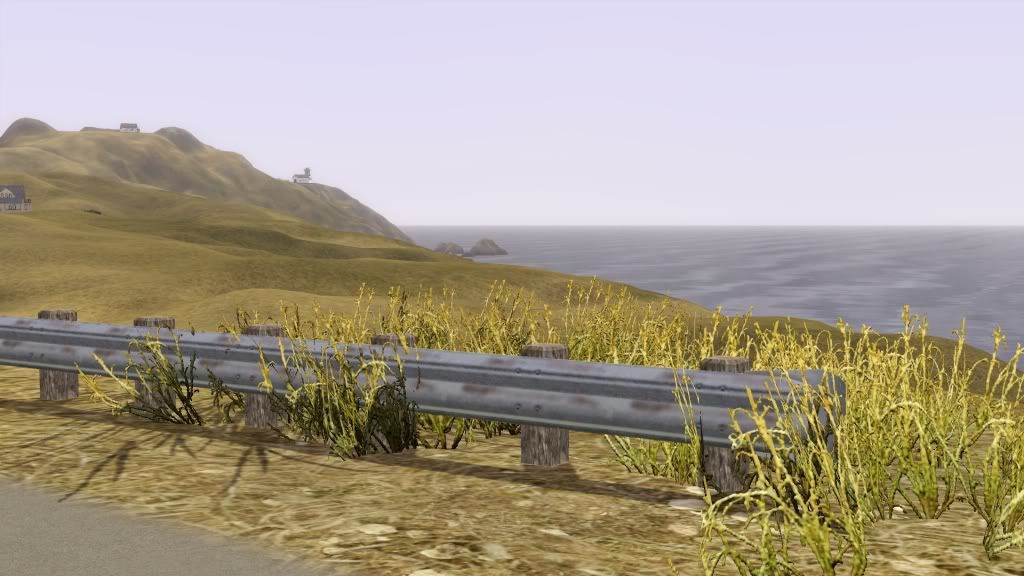
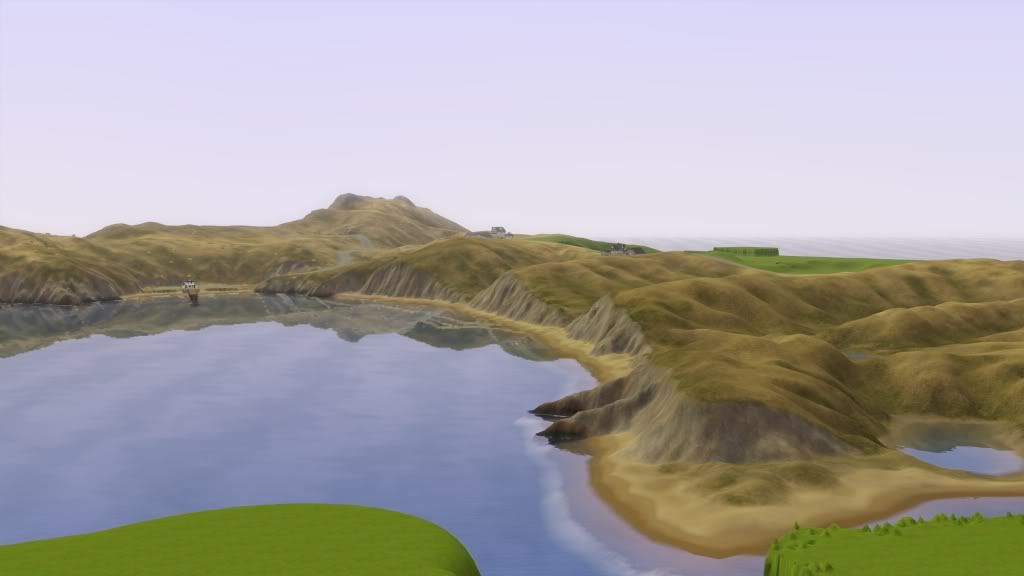
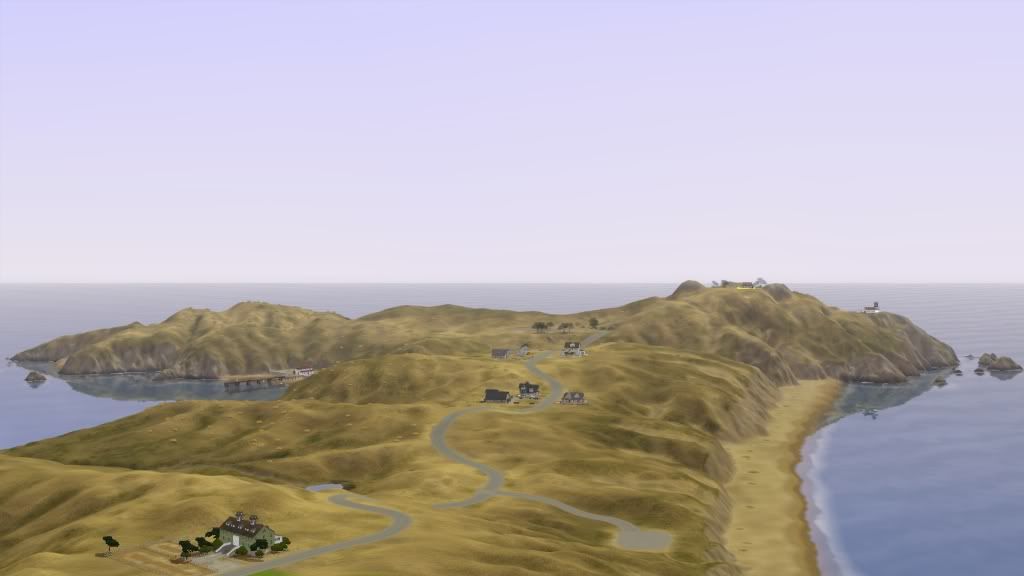
- http://i1231.photobucket.com/albums/ee510/Ouerbacker/Screenshot-176-1.jpg
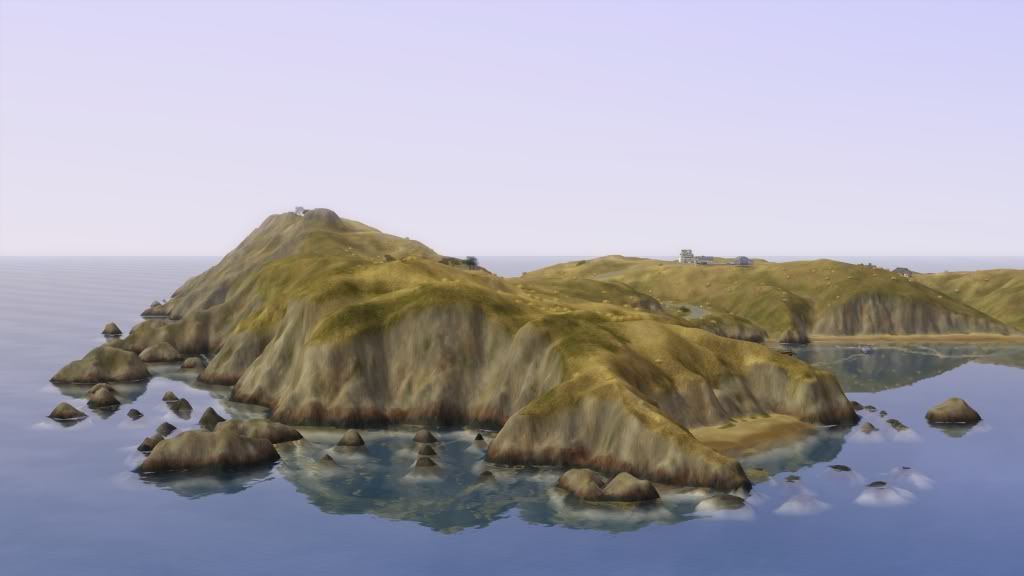
http://i1231.photobucket.com/albums/ee510/Ouerbacker/Screenshot-177-2.jpg
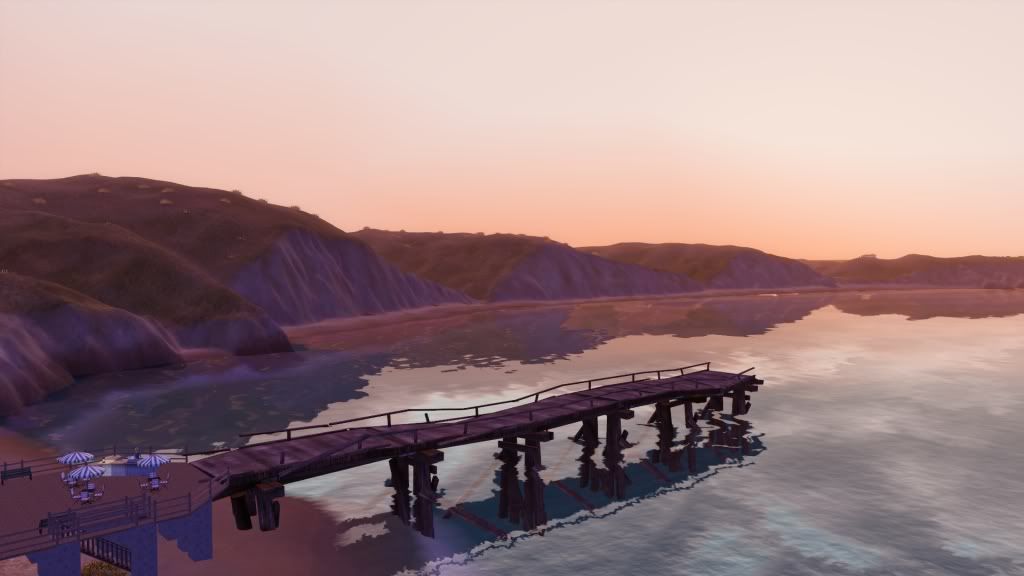
http://i1231.photobucket.com/albums/ee510/Ouerbacker/Screenshot-140-2.jpg
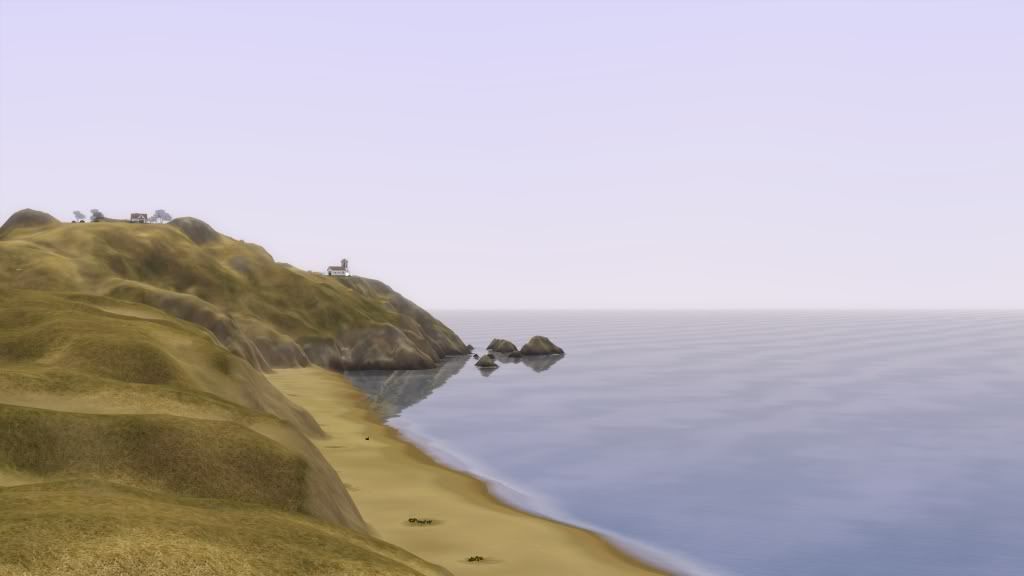
http://i1231.photobucket.com/albums/ee510/Ouerbacker/Screenshot-139-1.jpg
http://i1231.photobucket.com/albums/ee510/Ouerbacker/Screenshot-180-1.jpg
http://i1231.photobucket.com/albums/ee510/Ouerbacker/Screenshot-138-2.jpg - just one new picture
time to start working on that tutorial
Great terrain is not about having the most beautiful terrain , the best sculpting, or even great painting. Instead, it is about having a good mix ,of terrain and paint, and a realistic look . Basing you world off of real world images taken from airplanes or satellite images from Google earth is highly recommended. This will give you a much better idea about how you terrain should actually look .It is amazing how much easier this way is over the normal way of just dreaming it up.
Most worlds are based of a rough sketch that shows the basic road layout and the placement of lots. I believe that a world should never be drawn out this way . With this method the end result is usually very unrealistic . The world's overall shape is ,oftentimes,very chunky and ugly. Many of the natural rules of erosion and shape are completely bypassed . Where a series of soft hills , with little drainage ditches, should be placed the builder has, instead, opted for an over smoothed patch of overly green grass or ,even worse, a vertical cliff with a terribly stretched texture.A world's terrain should be drawn out before any of the roads are even thought of.
Textures are a very important part of CAW, yet most cawders just use the bland set of default textures. Those textures might have been pretty good for part of Sunset Valley but for you, as a cawder , can do much -much- better. I would recommend searching for textures on the internet,any tiled texture will work with CAW, or just checking out the list of custom texture links here at the CAW forums. If you are going for a truly individual and unique world set your sights on the first of those two options.
Here is a link to a good website with many wonderful tileable textures.
http://www.cgtextures.com/
For those who don't want to go internet searching here is a link to the list here at the forums.
http://forum.thesims3.com/jforum/posts/list/181739.page
This is going to be a simple tutorial about how to build terrain in this style.
Everything in our world start with a base; CAW is no different. Before any trees or paints are placed all of the terrain in that section should be sculpted. So far I have done the rough sculpting on our little section of tutorial terrain . I did break the no paint rule by laying out the parking lot but ,well, that's one of the few exceptions. If I were to put the parking lot in after the terrain was done it would not fit in well with the terrain. By putting it in now we are insuring that it and the terrain will function together in a harmonious way .
Here is what it looks like after a little touchup . The ridges are much smoother and the rock is rockier.
,more fine tuning . I laid the path and adjusted the cliffs . It's about time to start painting it.
Here is the first layer of painting.As you can tell it very rough. It shows were the grass ,sand, rock, and road will be located.
We've finally gotten around to laying the separate shades of grass. They should go from dark, close to the water, to light , furthest from the water.
Once that is done it's time to add a shade of green to the mix . This will take away some of the yellow and help define the terrain's shape. Running from the coast ,the green should be placed in valleys and crevices between the hills. I would recommend using this color to bring out areas of erosion .
After the green is in place you should do a lot of touchup in the seem between two areas painted at different times. For this you should lightly mix together a few of your worlds most indistinct terrain paints. Dirt and grass are the only things I used for my mixing.
Our next step is to bring back the sand and rock we covered over while painting the grass. If you're doing this right your terrain should come out looking kinda like this.
Before doing anything with the sand we should first paint the rock. Here is how mine came out . This rock is a mix of four different terrain paints all stuck together.
Since the sand, on top of the cliffs, looks pretty bland it's time give it a little more texture. We will start this by putting a very thick coat of beige rock on it . Almost all of sand should be covered over before we begin the next step. Once the sand is barely visible you should lightly repaint the sand where it was before. The texturing of it should be a little rougher with a noticeable change in color. Next, we will lightly add a little dirt,your lightest shade, to this mix. After that add a little bit of your green to it. You should come out with something that looks similar to this.
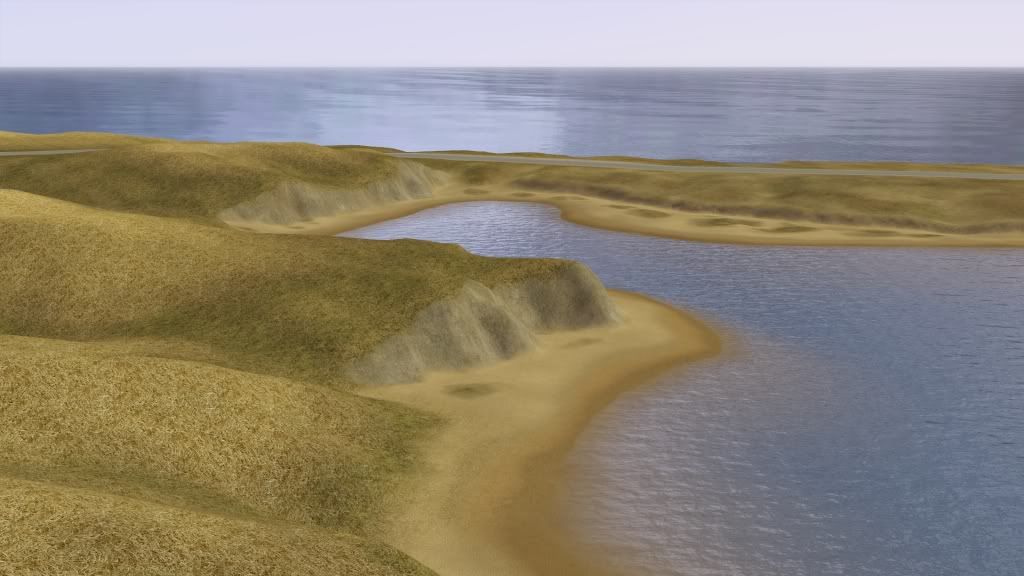
There's not much left to due with the terrain except the beach .Here is a picture that shows how it looks after doing the first phase of beach painting.
and after the second
and ,well, I would say this section of terrain is done. The same goes for this little tutorial . I hope you all found this helpful. - Holy Mother of God ... :shock:
I've been watching this since it started and it gets better everytime. Keep it up. The final product will be beyond outstanding. :thumbup: will2586 wrote:
Why can't I be as good as you!
With a lot of practice and a good world idea you could probably make something just as nice as this world.
Here is a small update.Ouerbacker wrote:
benblue wrote:
I dont mean terrian paints ect, I mean cc objects in lots, Ive noticed the light house you made has cc windows, So will you be using cc in lots?
There will be no CC on the lots. That lighthouse does not actually contain any CC . The lighthouse window was create by useing CFE to shorten a few walls . After doing that I placed a few LN windows around it. If you would like to take a look at it here is a link to an Alpha version.
http://www.mediafire.com/?m54mdtr44rconcg
Thank you so much, I will take a look, I love this world, Its amazing, Keep up the good work :D :D :Dbenblue wrote:
Hi,
Hows the world comming along?
It looks so amazing, When i looked in the lots, I did see a CC poster, Apart from that the world is so stunning :wink:
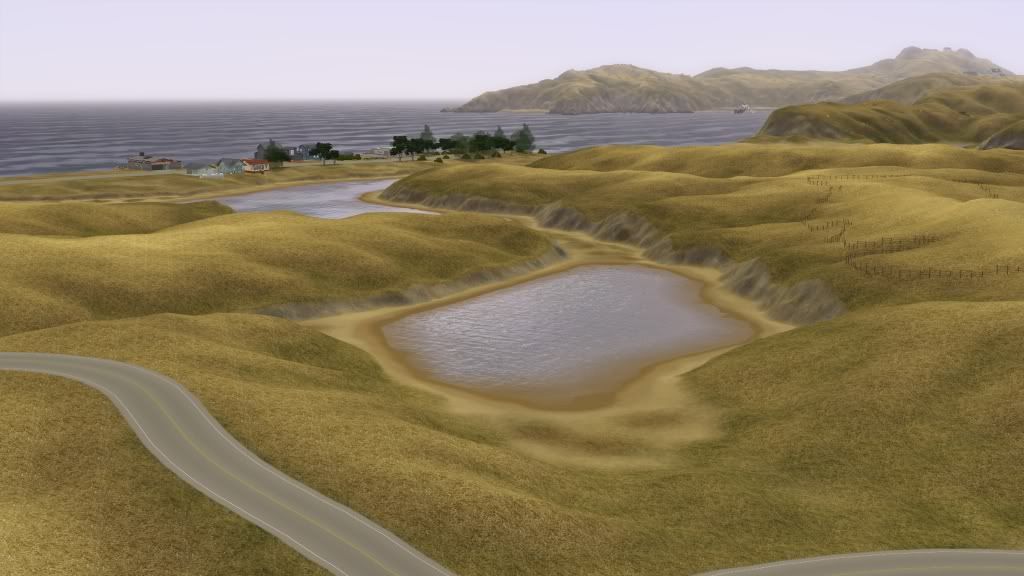
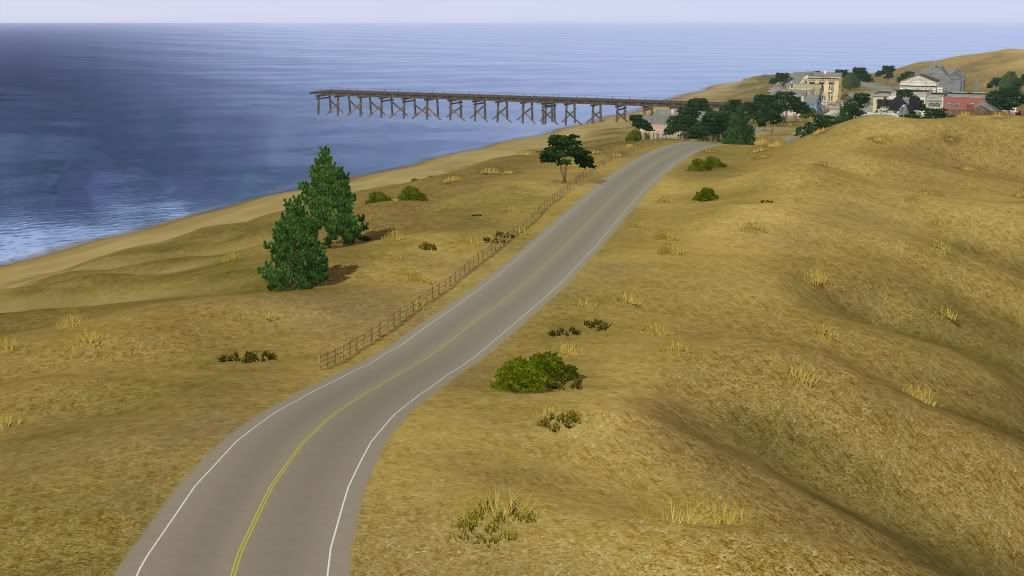
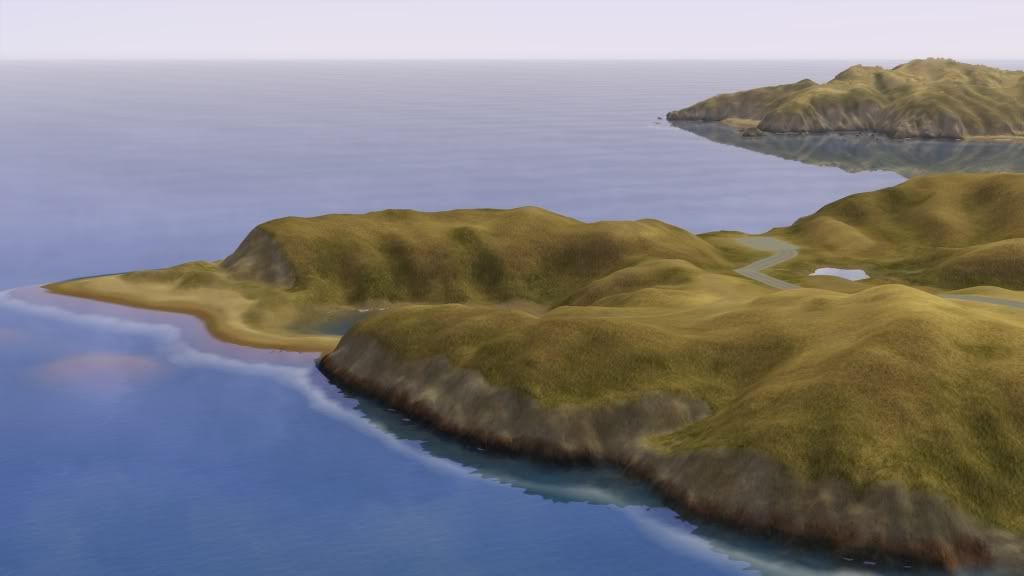
I think that might be one of the posters from pets but I'm probably wrong. The terrain is slowly moving along. Here is a pic that shows the next large part slowly coming together. Most of the painting is still unfinished.
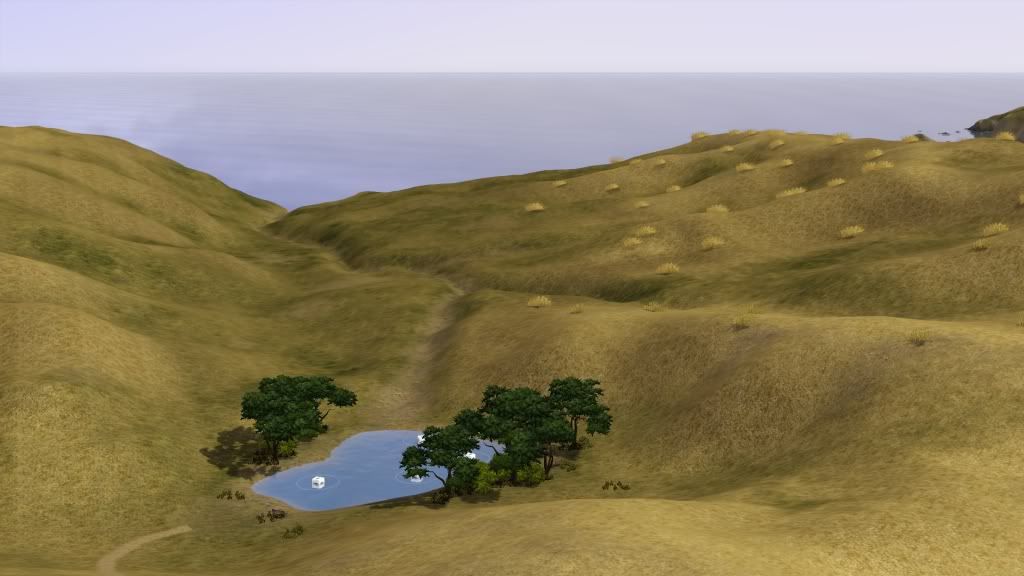
and a random lake
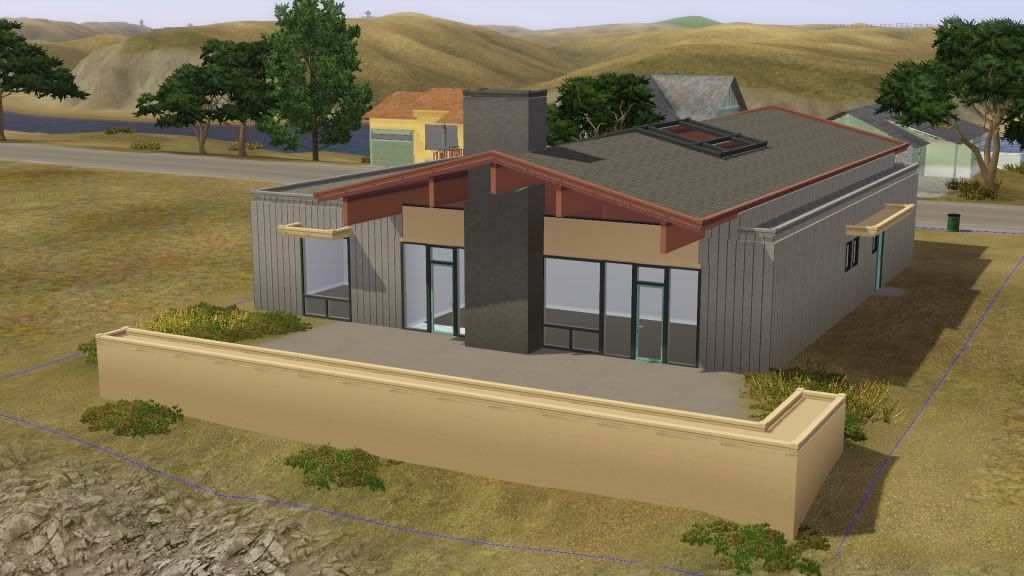
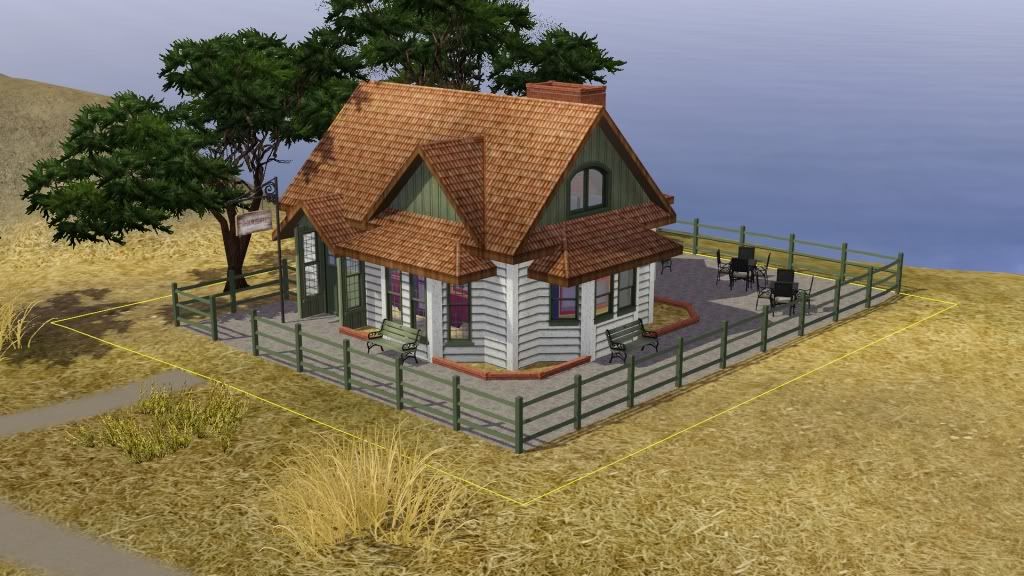
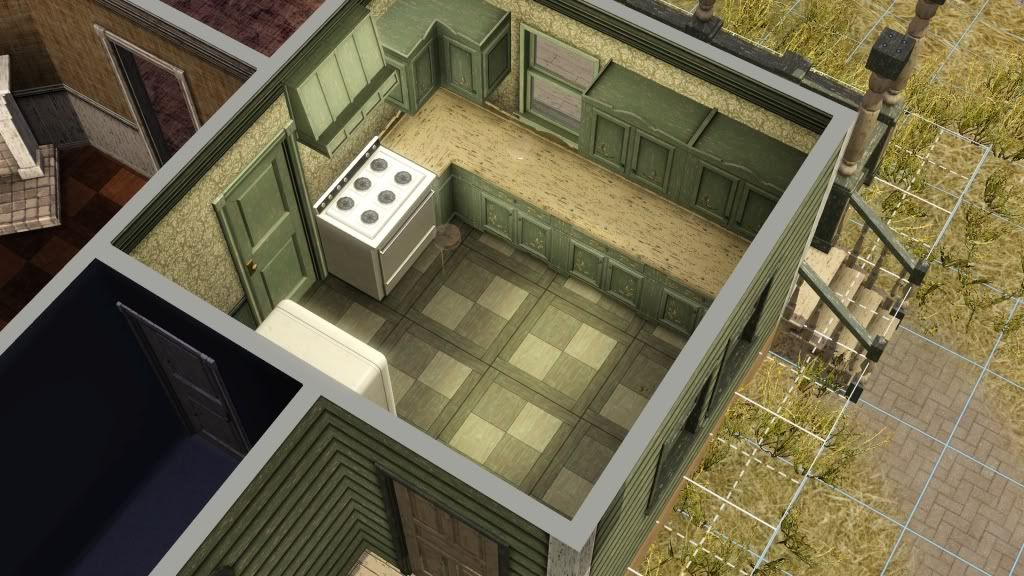
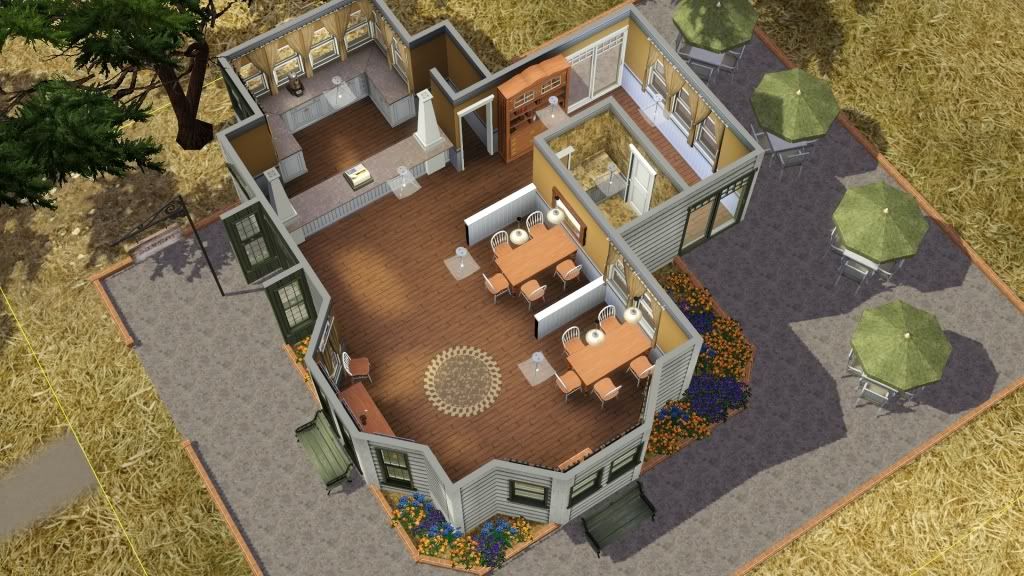
and also a house- Well, I didn't end up doing the video this week. Unfortunately I've had a sore throat for the past few days. My plan is to talk throughout the entire tutorial. Talking for long periods of time and having a sore throat is simply a bad combination . By about the end of the weekend my sore throat will probably go away. That is when I'll try to make the tutorial.
and a few pictures
houses
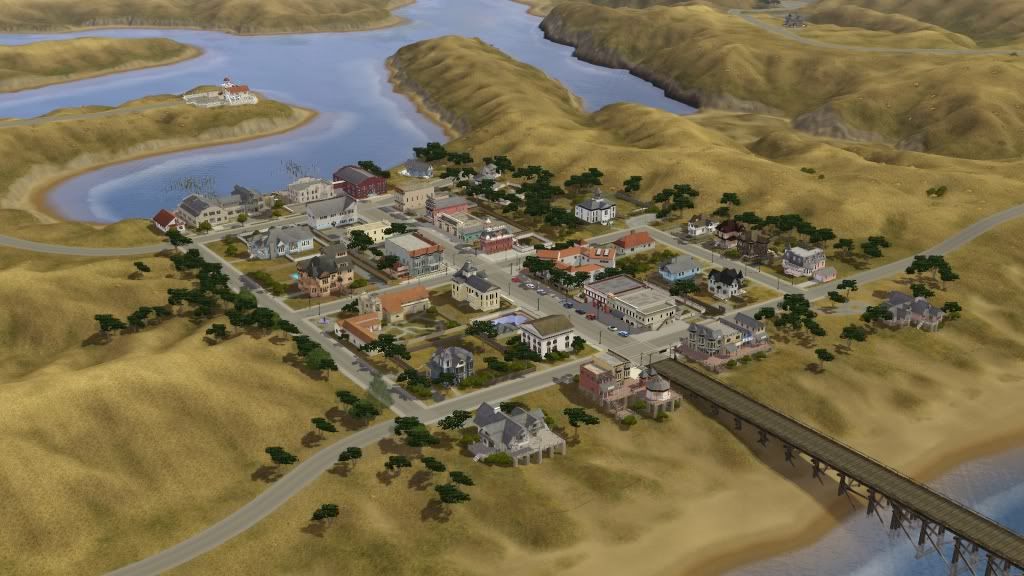
these will all be used in the town section
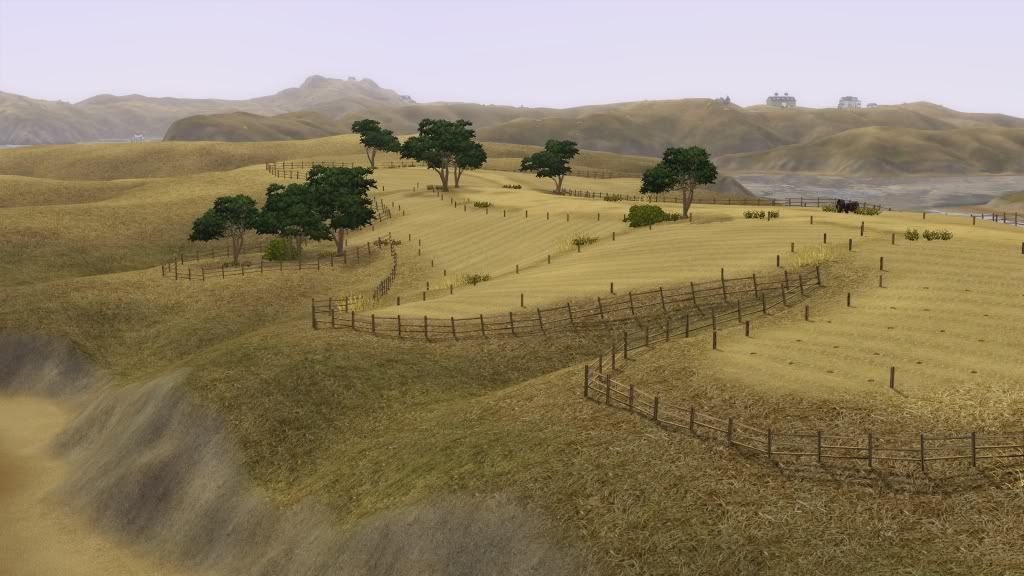
terrain
more houses
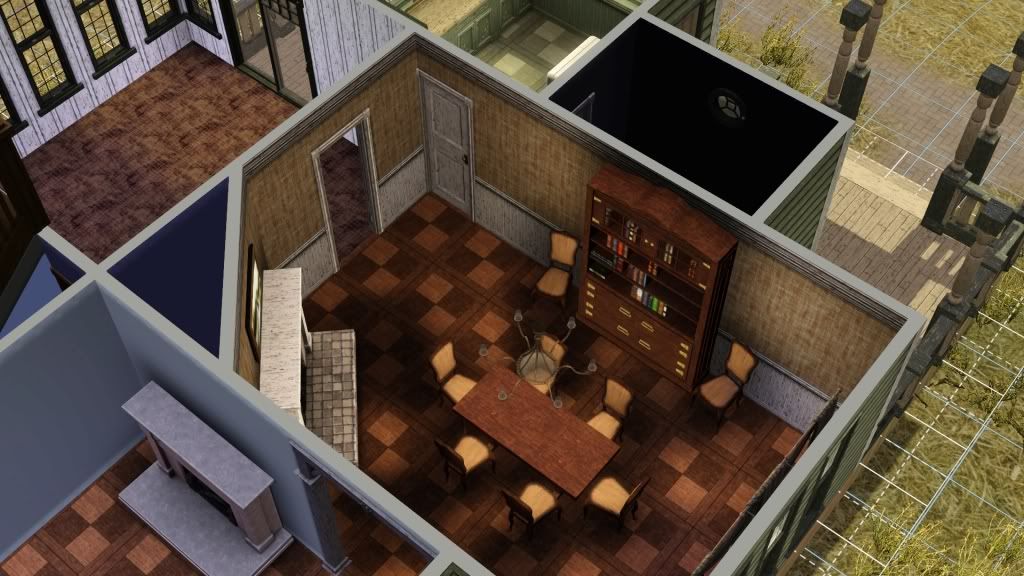
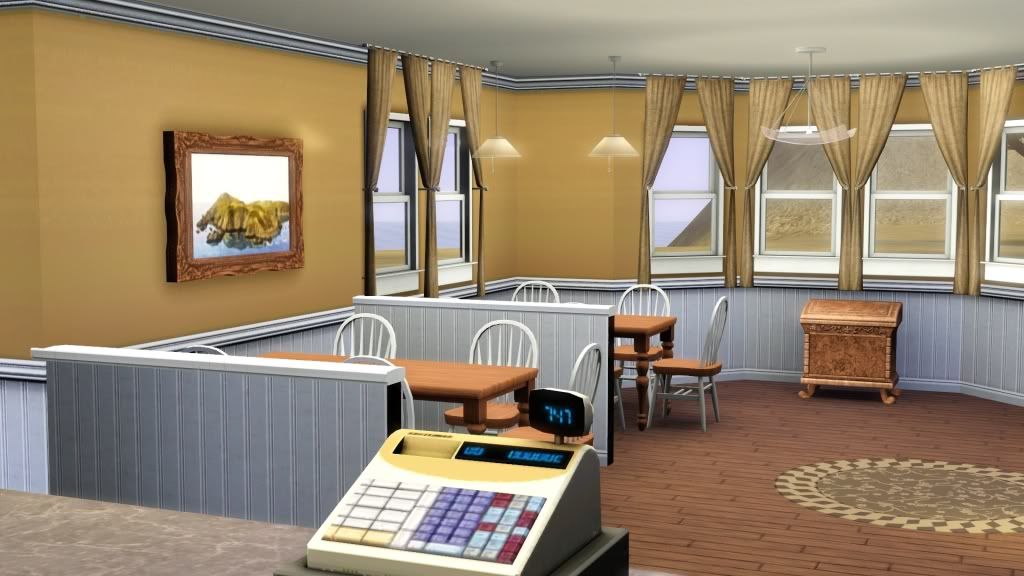
The inside of one of the houses near the top of this post.
and couches with cow print on them. cow print :lol: - Thanks to everyone who has posted.
8NiSci8 wrote:
:shock: Everything you make is so realistic! I love all of the new houses, great job. :thumbup:
Also, I hope you feel better and I look forward to seeing that tutorial video when you are.
Well, I started trying to work on the tutorial today. It didn't really work out to well. CAW and Fraps don't get along with each other very well. Whenever I switch from one category to another in CAW there is about a 50% chance CAW will throw a memory error and crash. Instead of making a video I think I'll just use pictures and text. Though this won't be quite as nice it should still be rather helpful. I'm sorry about getting your hopes up about the video. :oops:
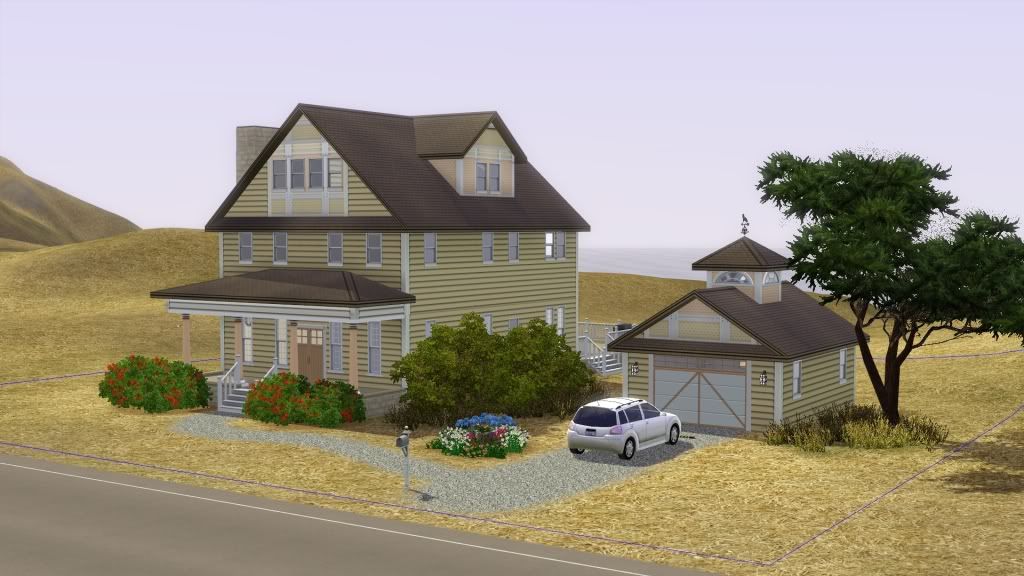
I changed the yellow house around a little. Before it was just to tight. Now it's going to be the most overpriced 2 bedroom house in town. - Thanks Conner and Froggie
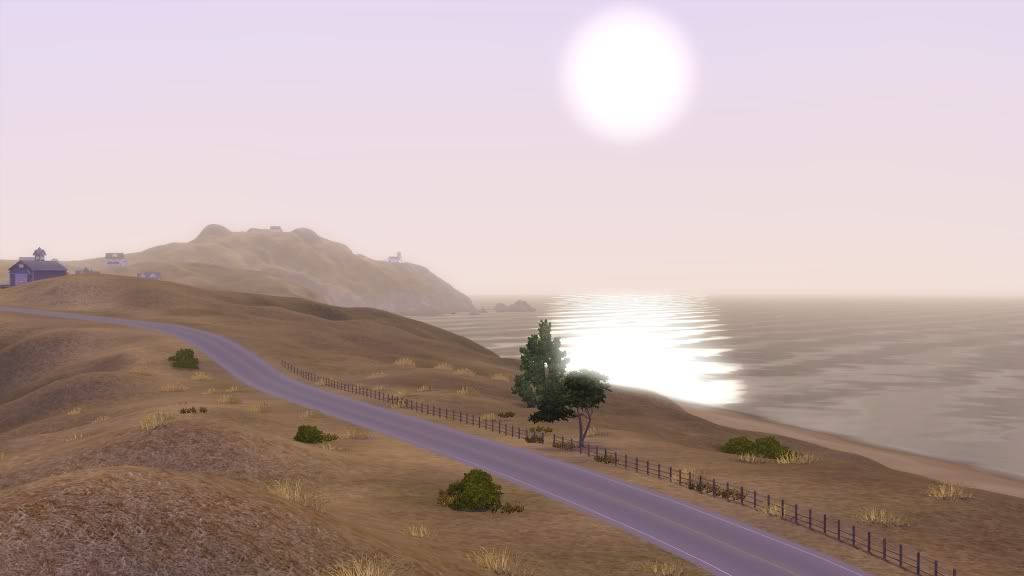
Here are two buildings and on picture of terrain, enjoy. Oh, I almost forgot. Merry Christmas!
8NiSci8 Just so you know that tutorial is almost finished. I just need to go through it and fix all of my ,um, gramatical and spelling errors.
About The Sims 3 Creative Corner
Chat with the Sims 3 community about your stories and legacies and share your creations.
243 PostsLatest Activity: 2 months agoRelated Posts
Recent Discussions
- 2 days ago
- 3 days ago