14 years ago
Create Your Own Custom T-Shirt In Minutes- Easy To Follow Step By Step Tutorial.
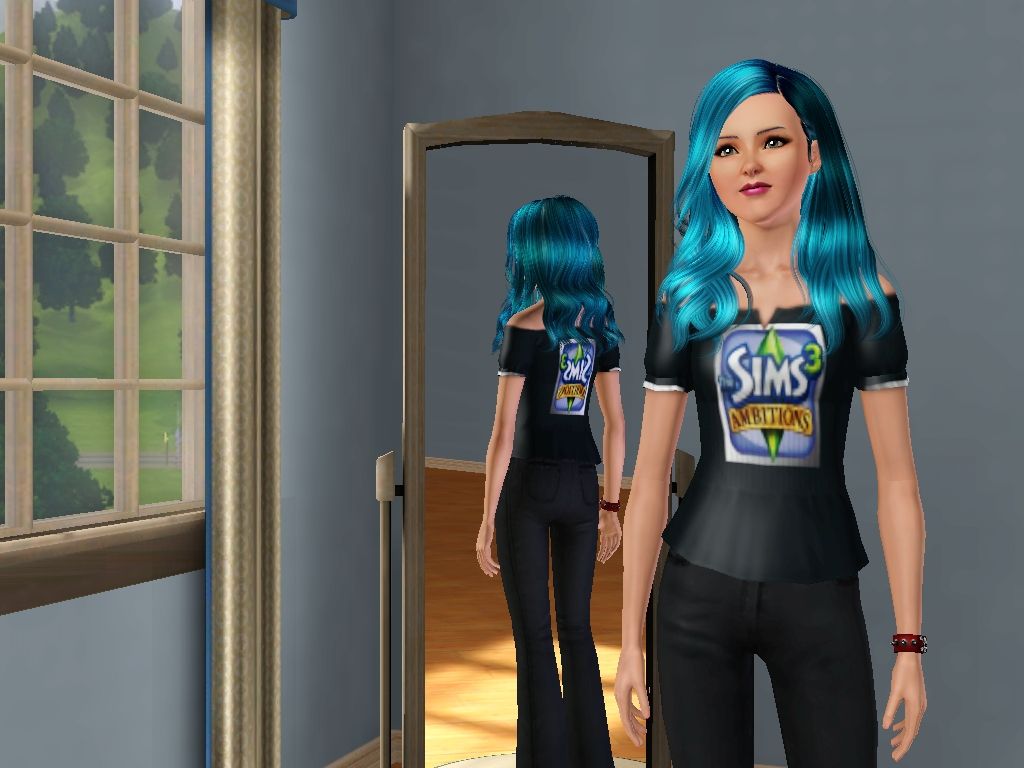
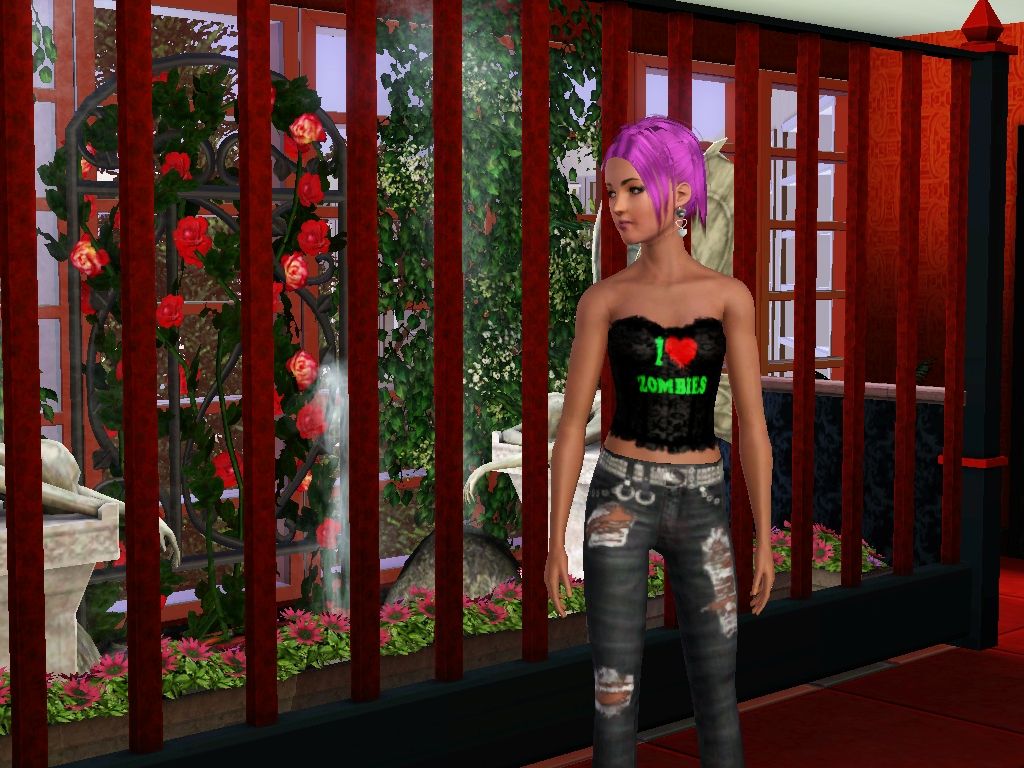
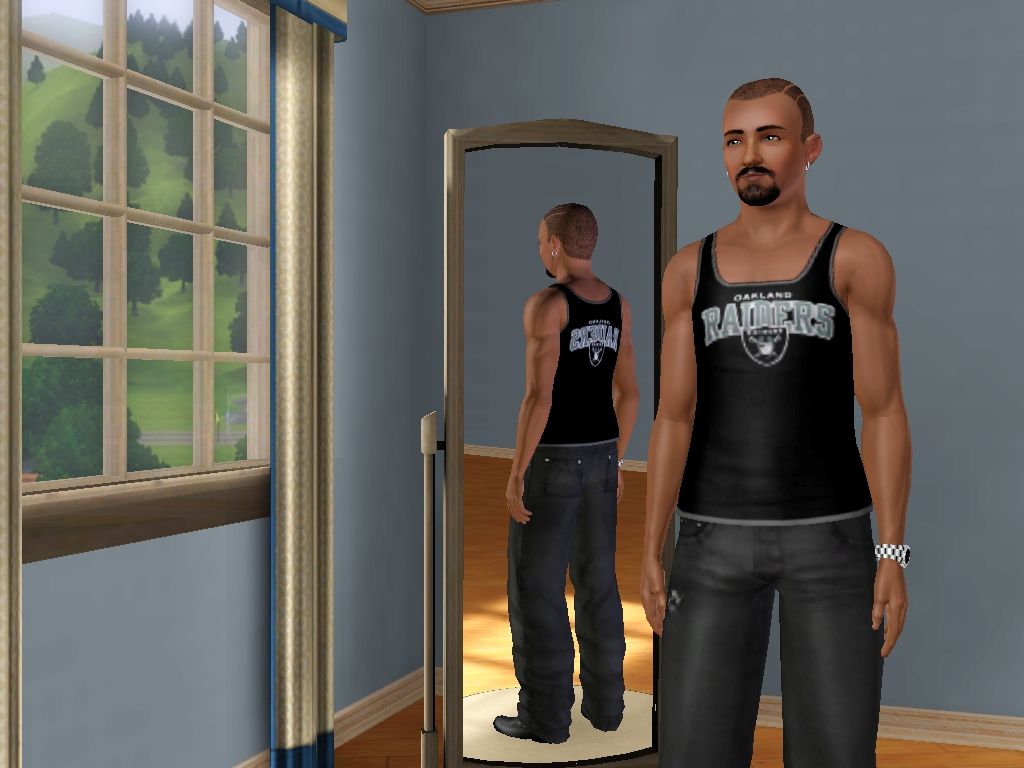
Do You want your sims to have shirts like these with perfectly centered pictures and to show up amazingly clear within your game using any image you want???With this step by step tutorial I will show you how to make your favorite brand names or sports teams or even your Schools Logo right on your sims shirt.Anything you want is now possible.I will post pictures of all the steps so even the non computer savy simmers will be able to do this."Note" please keep your images clean from foul language etc if posting your creations and have fun with it.
For this tutorial i will be using this image because hey who doesn't love spongebob right?

Step 1:First you will need the Sims 3 create a pattern tool which is found right on the Sims3.com site under the Free stuff tab at the top of the page.For those that use this tool for regular fabric patterns etc please read to learn new exciting things.
Step 2:Find your image,it can be anything you want but make sure you save it to a place on your computer that you can find easily like your desktop.I recommend making a new folder called Pics for T-shirts etc.
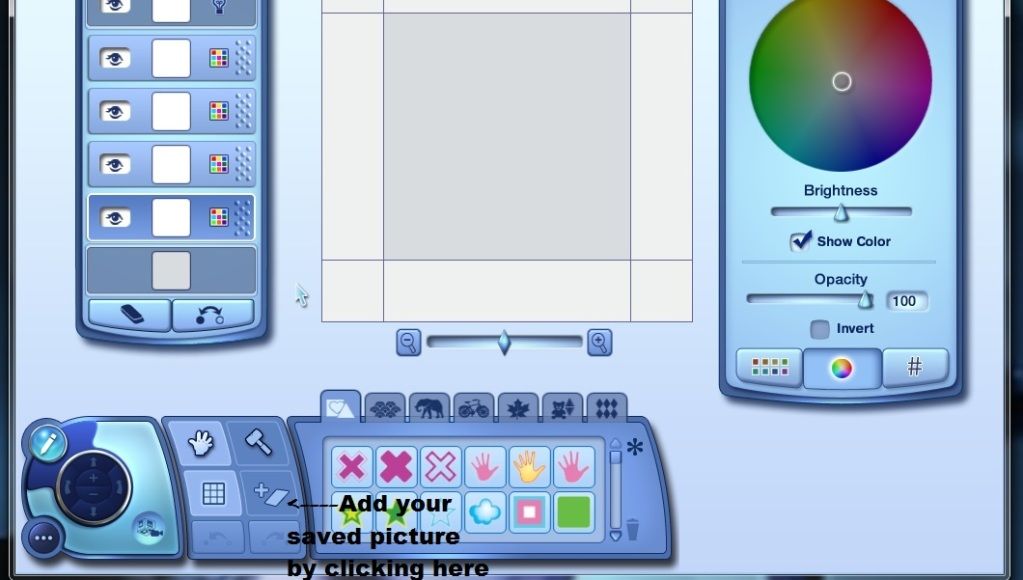
Step 3:Open your create a pattern tool and click on the add sticker button as shown in image below and choose wherever you saved your image and add it
Step 4:Once you add it it will look like this
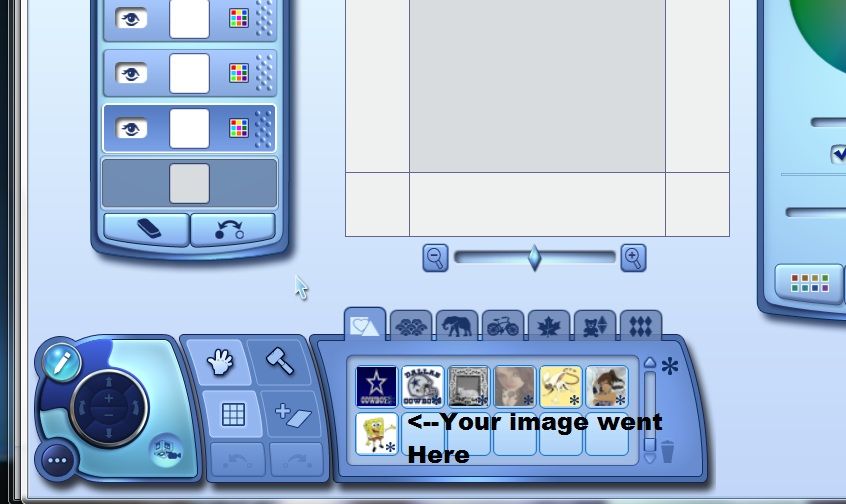
Step 5:Using the hand tool" the picture of the hand" click on the new pic you added in the stickers area and drag it to the large square as show in this photo

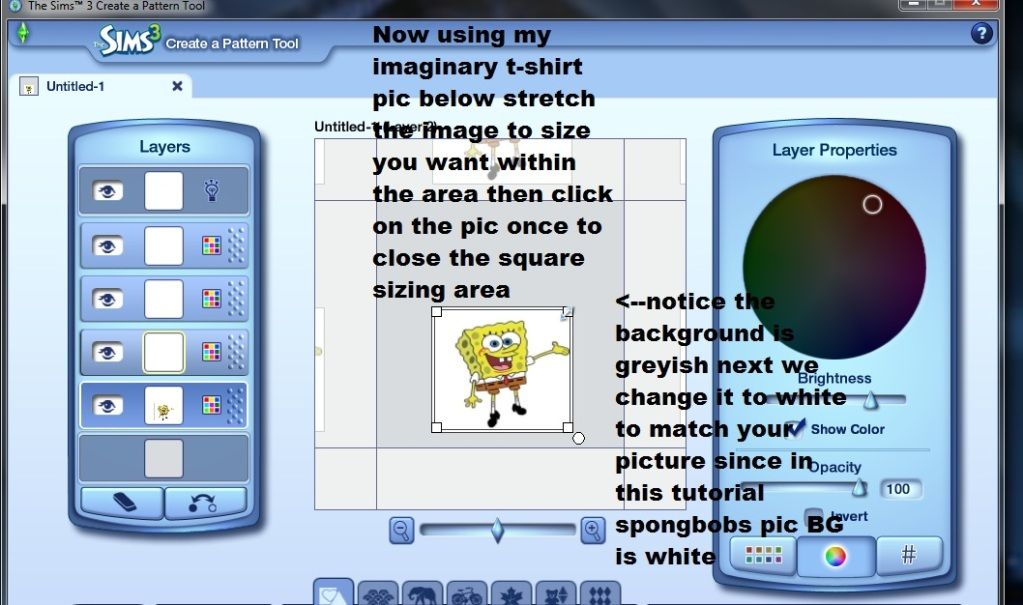
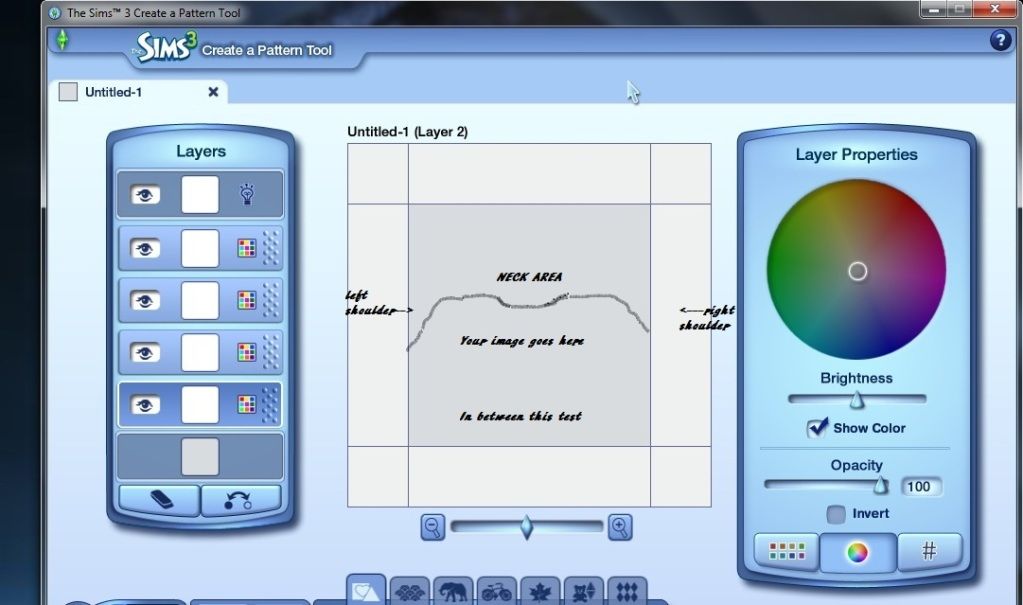
Step 6:Now resize your picture like shown in the photo below.You can resize by dragging out the corners of your pic and then can also move it around by dragging it.But make sure to follow the picture below this picture as a guide, I made a basic male/female t-shirt template that works on alot of Sims3 shirts for you as a guide.
Basic image placement template for t-shirts*NOTE*for more advanced clothing like hats etc read advanced advice at the end.
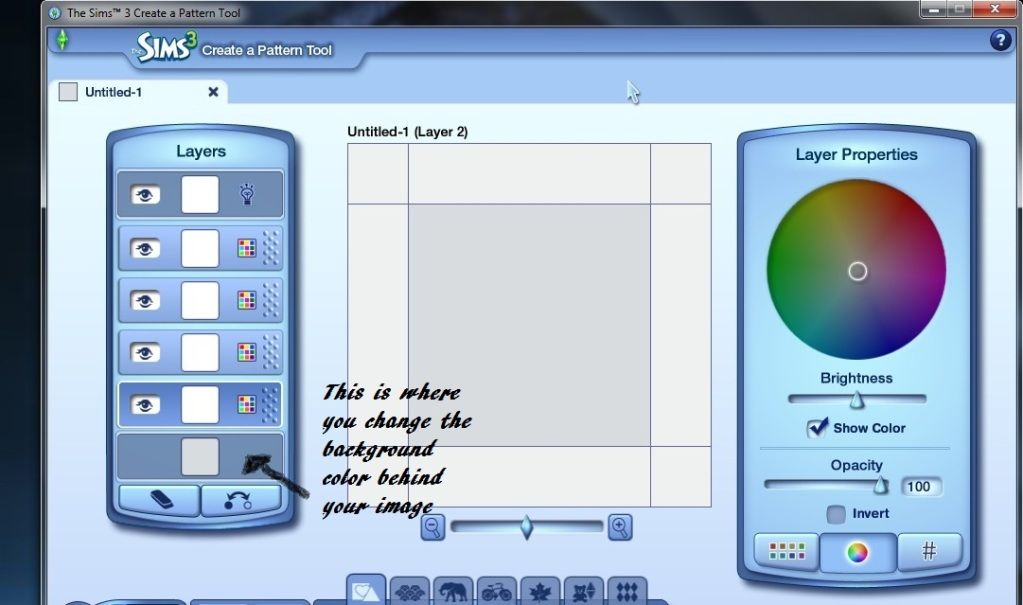
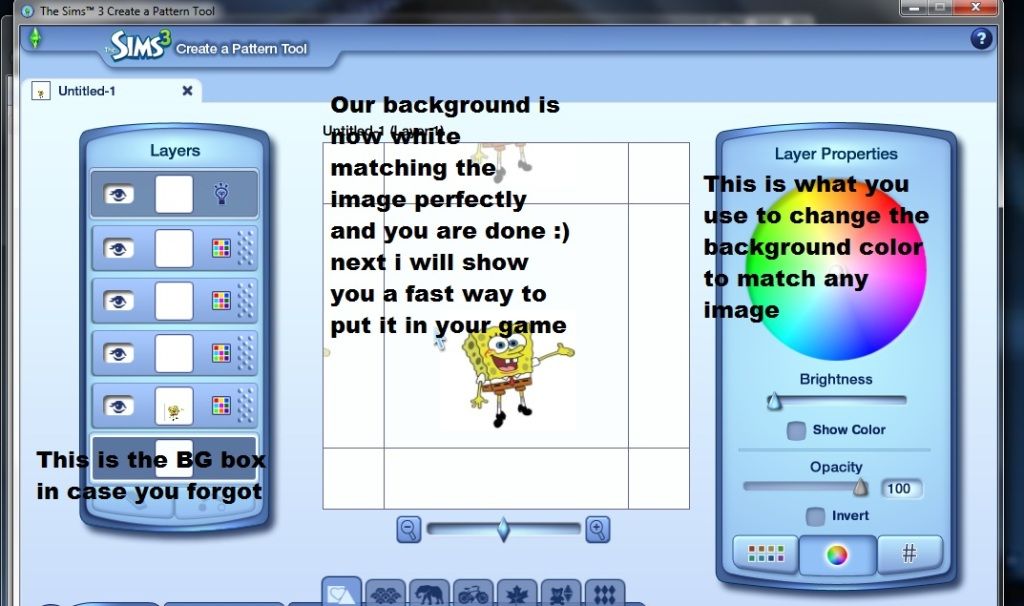
Step 7:Now match your background color to your pictures color as shown in images below.Every color is possible using the color wheel tool and it is always best to match the outer color of your image.Mine is white.Leave the image up as you have it currently after background color and after the next images i will show fast way to put in game.Yes you are done congratulations lets put it in your game.
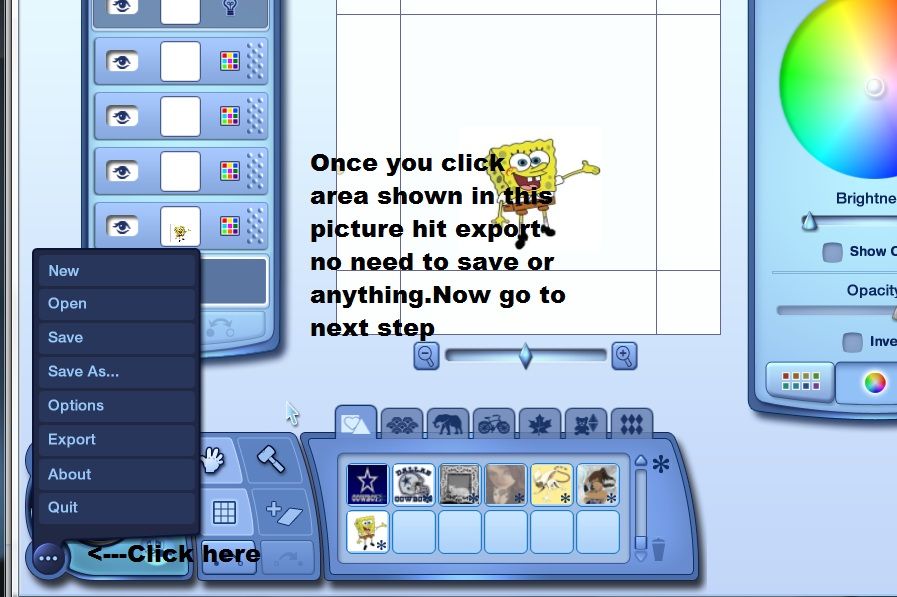
Step 8:Now i will show you a fast easy way to get the image in your game.Simply click the export button as shown in image below.No need to save or anything but make sure you remember where you put your pic as in a category like woods,metals etc,the default is fabrics and any is ok but just so you find it in game fast remember it.
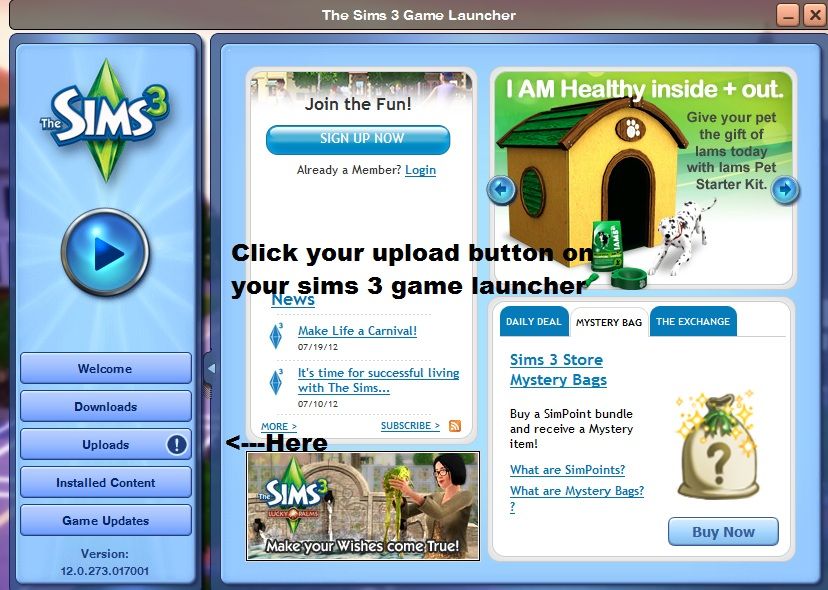
Step 9:Open your sims 3 launcher as shown below and click on the upload button and go to next step.
Step 10:As shown below just check the box then hit the show file button.
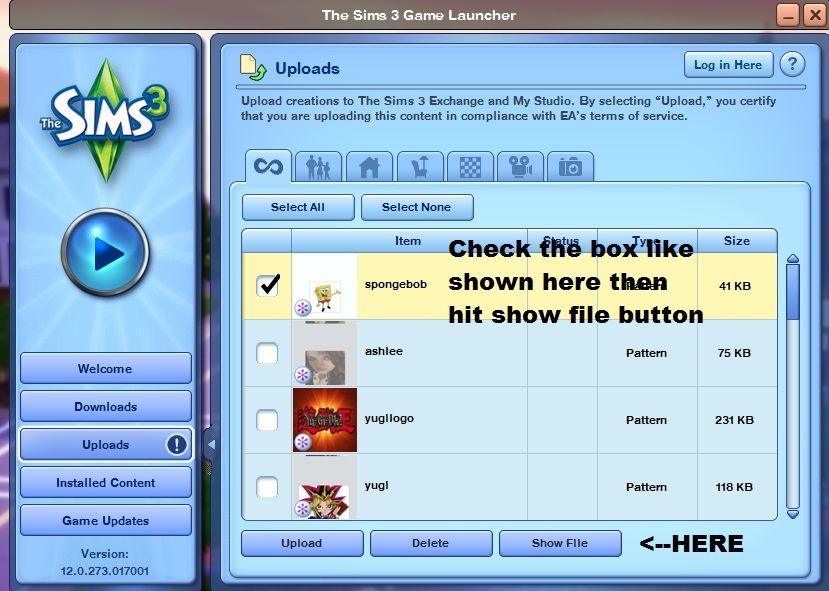
Now you will see a page as shown in picture below and all you have to do is double click the picture you made and it will install automatically.The official sims 3 plumbob loader will pop up and load it.
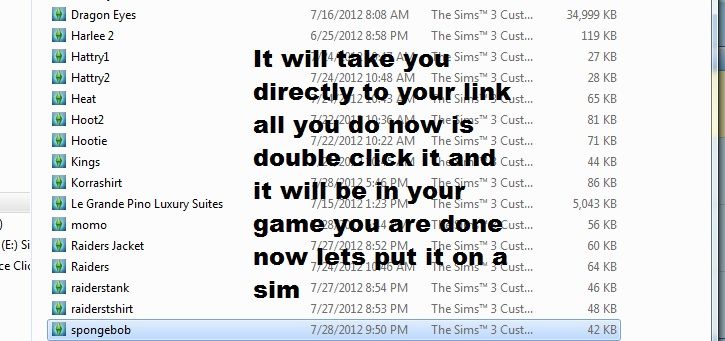
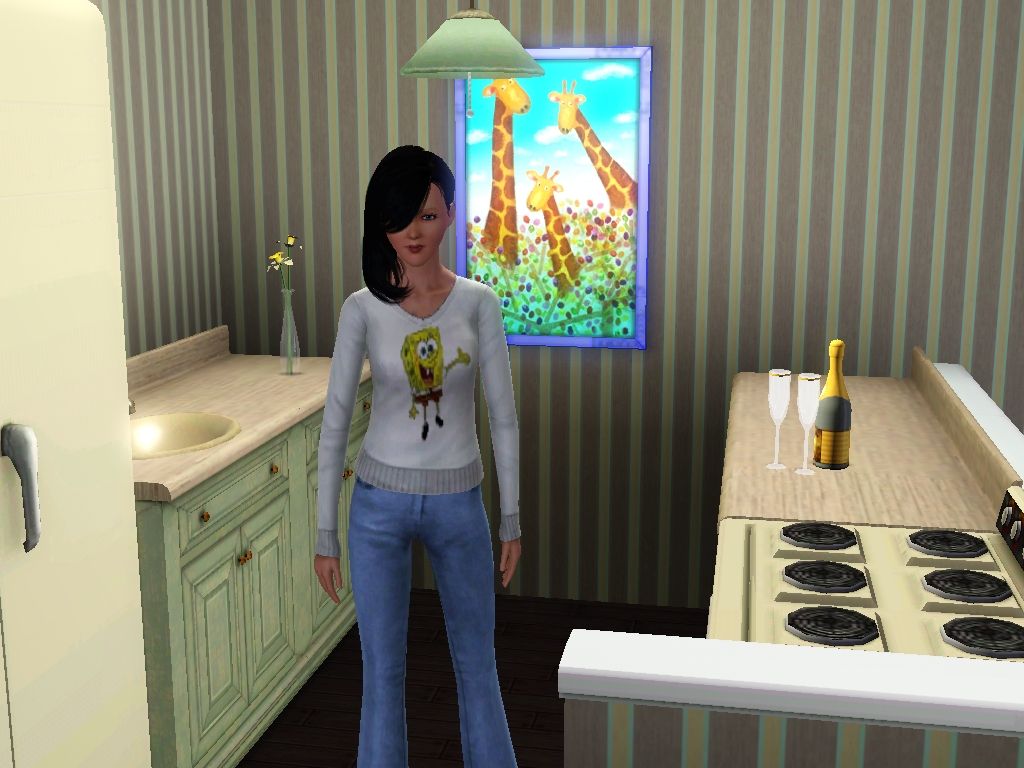
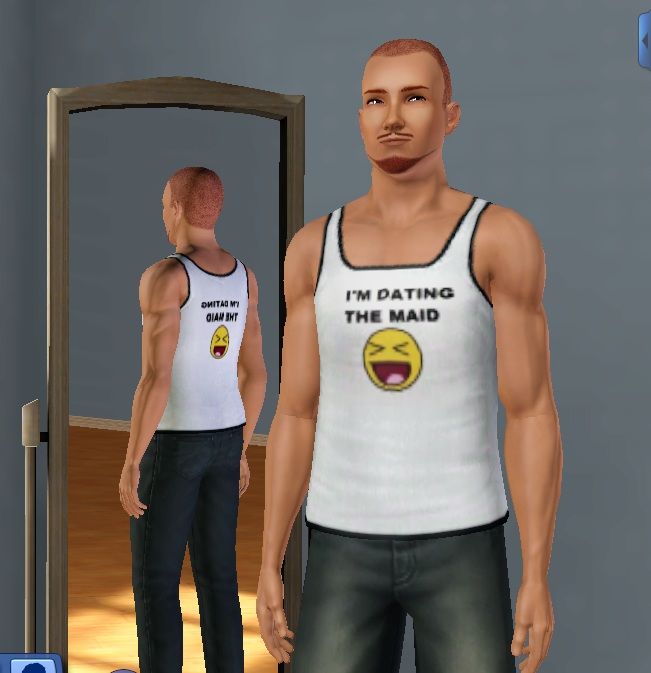
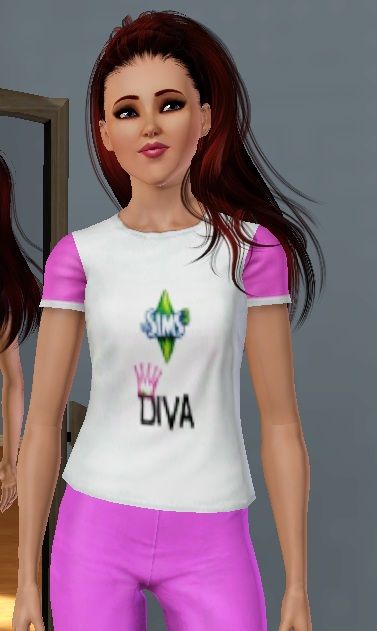
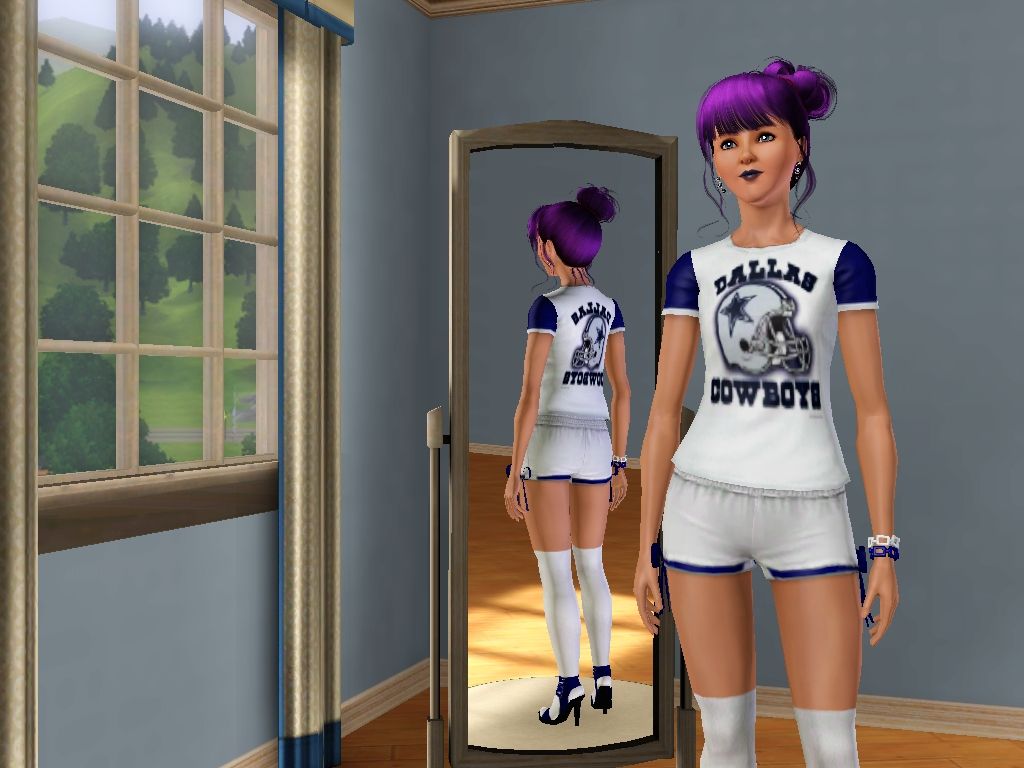
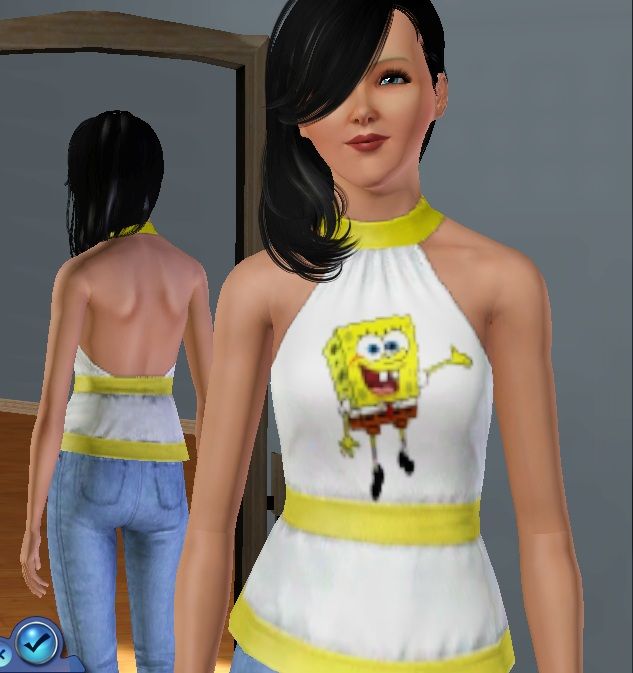
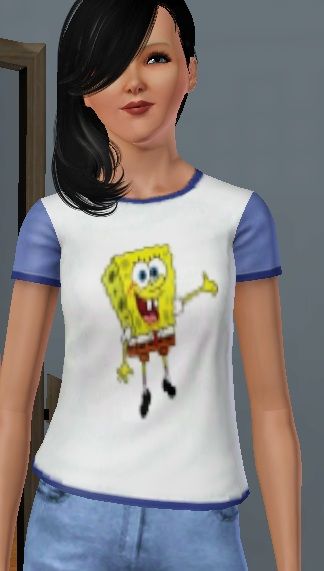
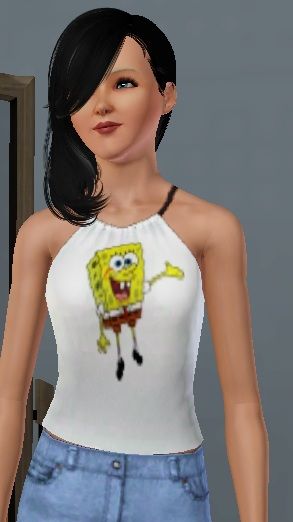
Now start your game and go put your image on a shirt from the create a sims as usual.Here is the finished product shown on several shirts that fit with my basic template.
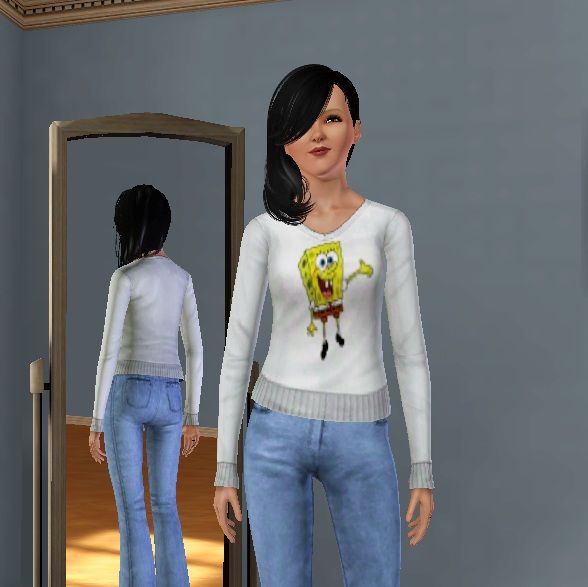
Advanced notes next and a in game shot of shirt i just made coming up.Please dont post here yet on this topic till it is completed.
For this tutorial i will be using this image because hey who doesn't love spongebob right?
Step 1:First you will need the Sims 3 create a pattern tool which is found right on the Sims3.com site under the Free stuff tab at the top of the page.For those that use this tool for regular fabric patterns etc please read to learn new exciting things.
Step 2:Find your image,it can be anything you want but make sure you save it to a place on your computer that you can find easily like your desktop.I recommend making a new folder called Pics for T-shirts etc.
Step 3:Open your create a pattern tool and click on the add sticker button as shown in image below and choose wherever you saved your image and add it
Step 4:Once you add it it will look like this
Step 5:Using the hand tool" the picture of the hand" click on the new pic you added in the stickers area and drag it to the large square as show in this photo
Step 6:Now resize your picture like shown in the photo below.You can resize by dragging out the corners of your pic and then can also move it around by dragging it.But make sure to follow the picture below this picture as a guide, I made a basic male/female t-shirt template that works on alot of Sims3 shirts for you as a guide.
Basic image placement template for t-shirts*NOTE*for more advanced clothing like hats etc read advanced advice at the end.
Step 7:Now match your background color to your pictures color as shown in images below.Every color is possible using the color wheel tool and it is always best to match the outer color of your image.Mine is white.Leave the image up as you have it currently after background color and after the next images i will show fast way to put in game.Yes you are done congratulations lets put it in your game.
Step 8:Now i will show you a fast easy way to get the image in your game.Simply click the export button as shown in image below.No need to save or anything but make sure you remember where you put your pic as in a category like woods,metals etc,the default is fabrics and any is ok but just so you find it in game fast remember it.
Step 9:Open your sims 3 launcher as shown below and click on the upload button and go to next step.
Step 10:As shown below just check the box then hit the show file button.
Now you will see a page as shown in picture below and all you have to do is double click the picture you made and it will install automatically.The official sims 3 plumbob loader will pop up and load it.
Now start your game and go put your image on a shirt from the create a sims as usual.Here is the finished product shown on several shirts that fit with my basic template.
Advanced notes next and a in game shot of shirt i just made coming up.Please dont post here yet on this topic till it is completed.